![]()
![]()
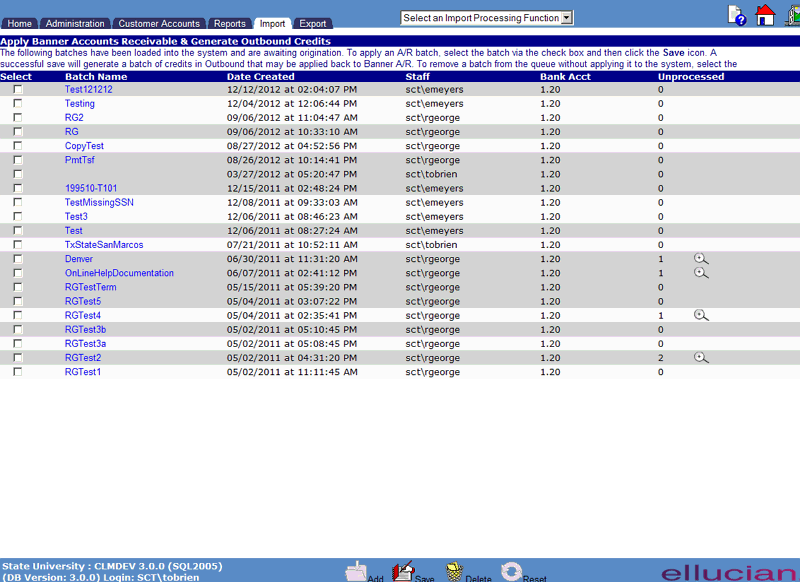
Apply Banner Accounts Receivable
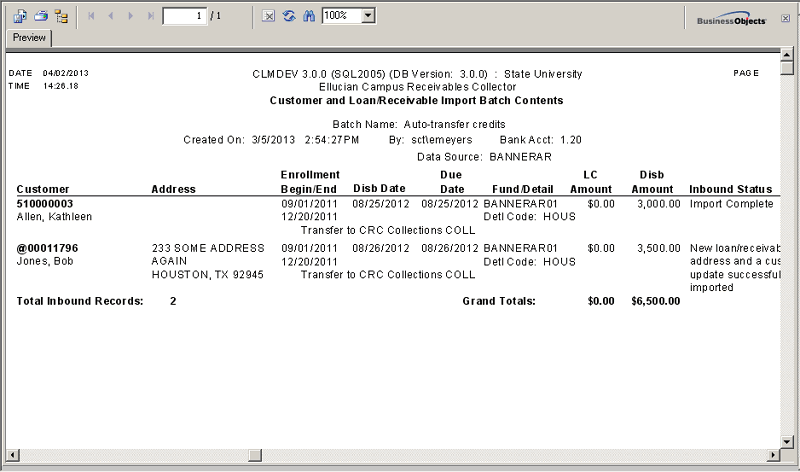
To apply Banner Accounts Receivable debts to CRC, select the batch via the check box and then click the Save icon. To remove a batch from the queue without applying it to the system, select the batch via the checkbox and then click the Delete icon.
When the batch is Saved, the process will generate a corresponding file of credits in Export. This file may be applied back to Banner A/R.
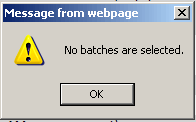
After successfully clicking on the Save icon, the CRC system will edit the contents of the selected file(s), and apply valid records to the database. When all files and records have been processed, a Summary Results screen is displayed as shown in the following example:
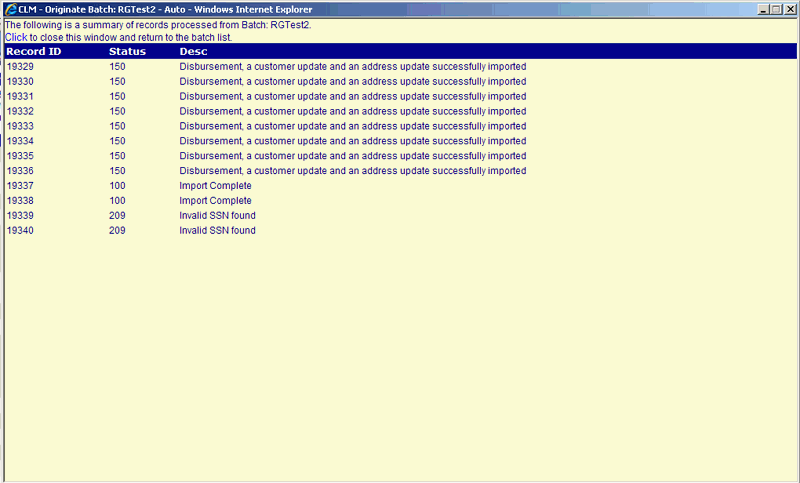
** Due to the integration with Banner Accounts Receivable, CRC will not allow the successful application of the file if any errors exist. Errors must be resolved and the file re-applied.
To delete one or more unapplied Import data files, first select the desired file(s) by clicking in the checkbox located to the left of the file name. When all desired files have been selected, click on the Delete icon located in the Function Bar.
Clicking the Delete icon will trigger the display of a pop-up dialog box that requests the user to confirm the Delete action, and identifies the files that have been selected for deletion. For example:
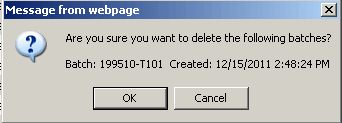
Click on the OK button to acknowledge the Delete action. The selected files will be deleted, and the pop-up window will be closed. The Apply Banner Accounts Receivable File List will be updated to reflect the deletion.
