![]()
![]()
Benefit Mail
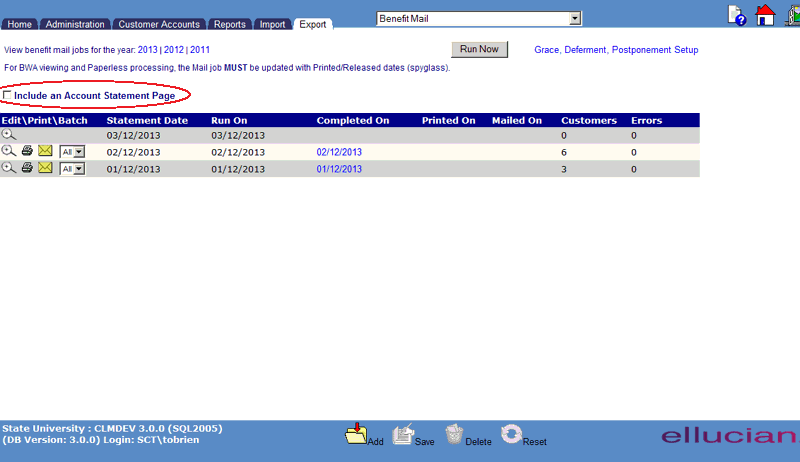
This function is used to generate Grace Mail, Deferment, Postponement, and Cancellation Applications to Customers whose Benefits/Allowances expire within selected timeframes. Loan/Receivables that are postponed and have interest billed will also be billed through this process. This Benefit Mail Screen displays the jobs that are in the system for the current year, when they were created, and when they were (or will be) printed and mailed. Click on the link to the year to view another year’s data. This function allows a user to:
****Effective
with 3.0, if you would like to continue generating 2 pieces of mail (Benefit notice
+ Account statement) as previous versions have been, you MUST select the Box for
Include Account Statement.
(Note: This option will not affect the Postponement-Interest Only statement which
is an Invoice).
· Set up the Benefit Mail Job Parameters
· Edit an Existing Benefit Mail Job
· Print a Benefit Mail Summary Report
In order to run a Benefit Mail job, the job parameters must be established. Click on the GDP Due Diligence Setup link to enter the job parameters on the Benefits/Allowances Mail Configuration screen.
Click on the Add icon in the function bar. The Edit Job Dates screen will be displayed. Enter the following information on this screen and click on the Save icon. Clicking on the Reset icon will restore the data entry form to its initial (blank) state. Any data that was entered in the form will be erased from the display.
Click on the Magnifying Glass icon to edit a job that has been run previously or one that has not yet been run. When the user clicks on the Magnifying Glass icon, the Edit Job Dates screen will open to perform editing Benefit Mail Job.
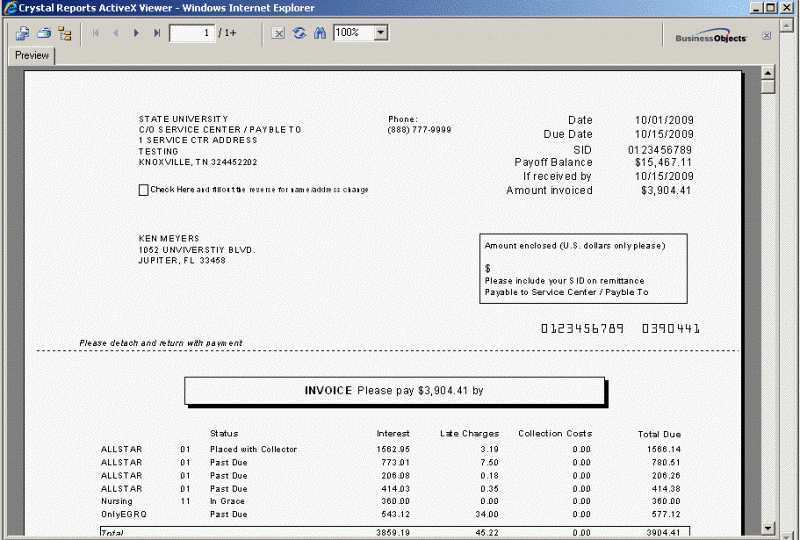
Click on the Print icon under the Edit\Print\Batch column and the system runs the job and prints the appropriate mail for Customers meeting your criteria. A current statement and an invoice are printed if the benefit is a postponement and accruing interest. See sample below.
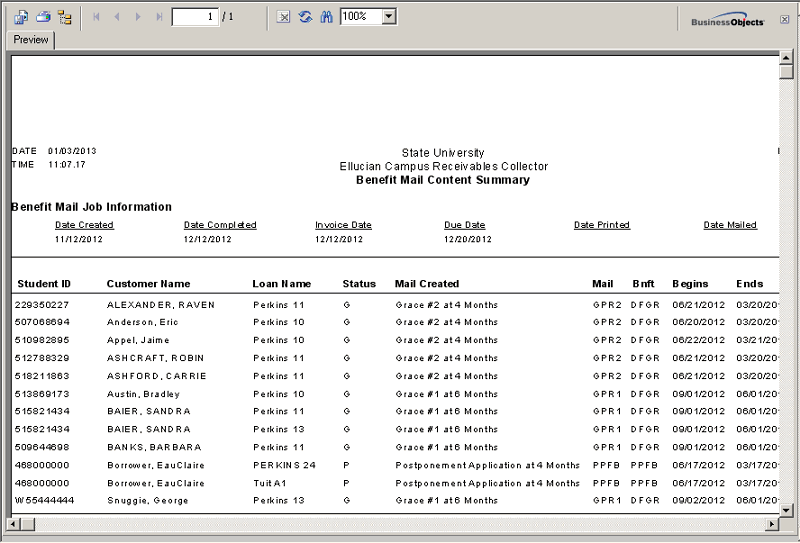
Click on the date link under the Complete On column and a summary report is displayed. See sample below.
If there were any errors that occurred while processing a job, the Errors column will contain a value greater than zero. To research the error, simply click the Review link for information. A crystal report similar to that shown below will display:

Click on the Delete icon in the function bar to completely remove the Benefit Mail job from the displayed list. This will delete the history record and mail item from the Customer's mail queue. NOTE: Caution should be used when deleting a Benefit Mail job. Since the Customer history records will be deleted, only jobs that were run in error should be deleted.


©Ellucian Campus Receivables Collector Help Center