![]()
![]()
Printing Queued Mail
The report provides a table of all unprinted mail in the system. The Printing Queued Mail option provides the ability to print mail that has been created through certain system processes and mail attached to accounts by system users. Mail created through the following Export processes will not appear in this report: Invoice - Bills, Invoice - Due Diligence, Benefit Mail and Disbursement Notices.
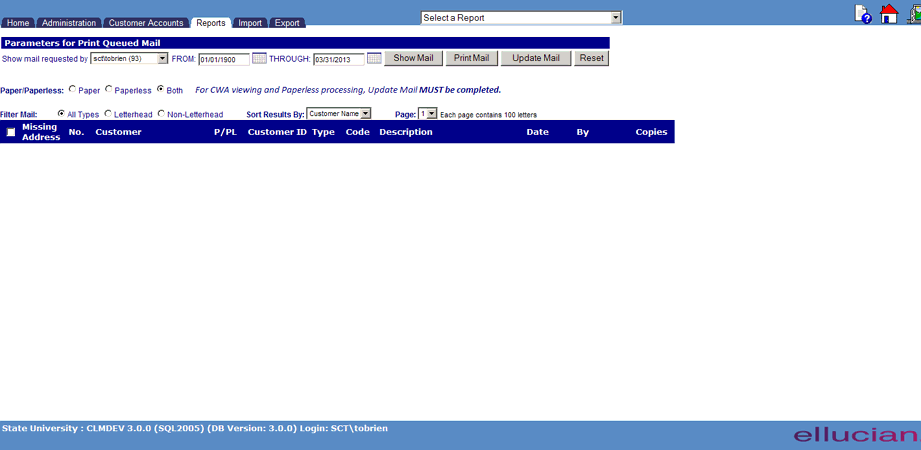
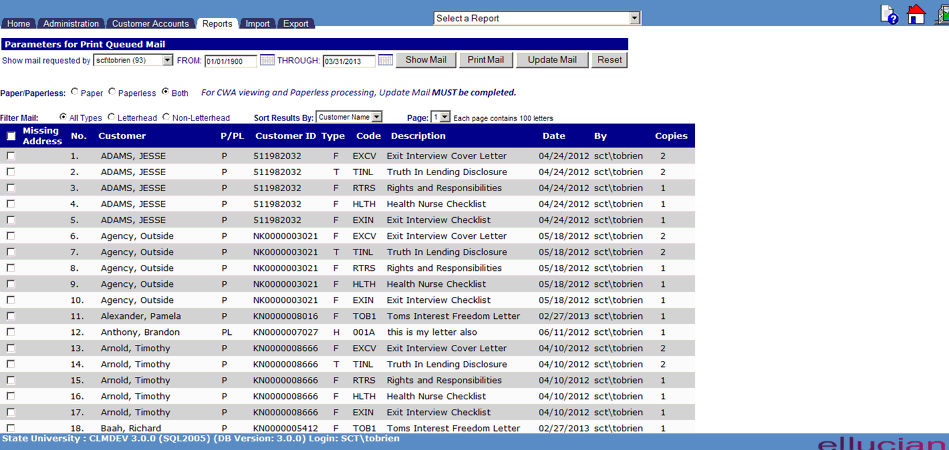
Select the parameters following the Selection Criteria below and then click on the Show Mail to display a list of Customers that meet the criteria (see sample below). You then have the options of:
|
Field |
Description |
|
Show Mail Requested By |
Required parameter. This will default to the current user but can be changed to a different user or to include all users. This restricts the mail selection to those items created by the selected user. |
|
From Date |
Required parameter. Only unprinted mail items having a transaction date greater than or equal to the supplied date value will be selected. Defaults to the current date. |
|
Through Date |
Required parameter. All unprinted mail items having a transaction date less than or equal to the supplied date value will be selected. Defaults to the current date. |
|
Paper/Paperless: |
|
|
Paper |
This option will display mail for Customers with "Paper" selected in OM/Customer Account/Add-Edit Customer/Correspondence Option |
|
Paperless |
This option will display mail for Customers with "Paperless" selected in OM/Customer Account/Add-Edit Customer/Correspondence Option |
|
Both |
This option will display mail for Customers with "Both" selected in Administration/Add New Customer/Correspondence Option |
|
Filter Mail |
|
|
All Types |
This option will display all unprinted mail items. |
|
Letterhead |
This option will display only Letterhead mail items. |
|
Non-Letterhead |
This option will display all Non-Letterhead mail items. |
|
Sort Results By |
This option displays the sort options for the report. Customer Name, ID, Letter Code, Mail Date, By Whom |
|
Page |
Each Page displays 100 mail items. |

To view a mail item, check the appropriate line number(s) and click on the Print Mail button. When this icon is clicked, a Crystal Reports report viewer is opened (see sample below). Click on Guidelines for instructions on printing and navigating the report.
Clicking the Update Mail button will display a pop up window that provides processing options for the currently selected letters (see Update Mail for more details).
After printing the selected mail items, the option to ‘Set Processing Date’ must be entered to (1) record the Customers MAIL history record, (2) release the mail to BWA for online viewing, and (3) send an email notification to Customers with paperless option.
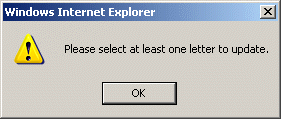
If the Update Mail button is clicked but no mail items have been selected, the following message will display:

Click on the OK button to acknowledge the error and return to the entry form. Select the desired letter(s) and again click the Update Mail button.

©Ellucian Campus Receivables Collector Help Center