![]()
![]()
ACH Accounts
Add Edit Delete
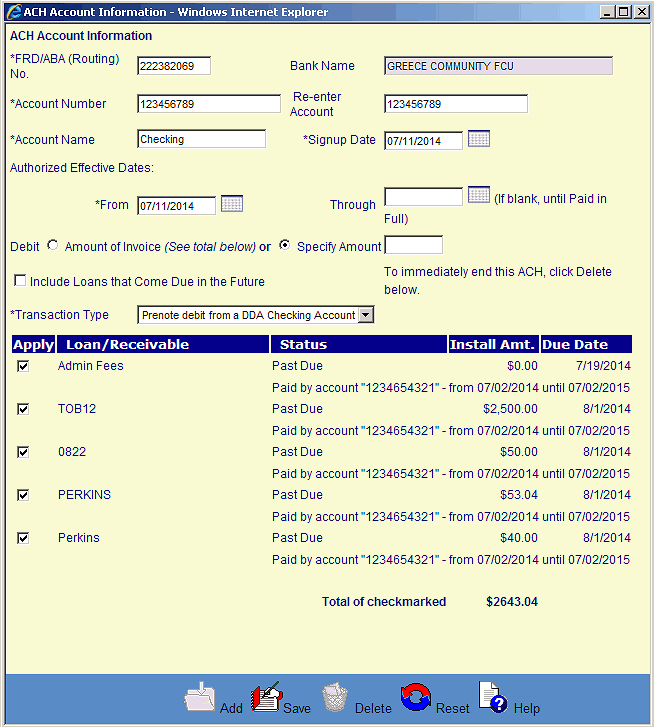
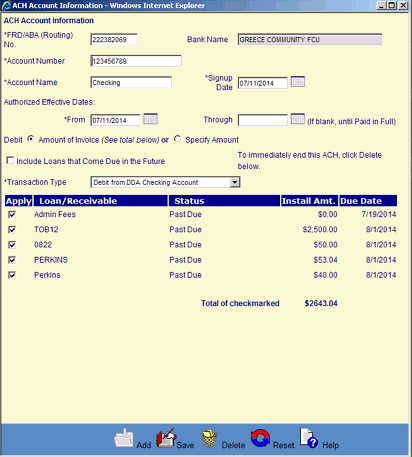
The ACH Account Information screen is displayed when the user clicks on the Magnifying Glass icon in the ACH Accounts List screen to edit or delete an existing ACH Account. The Add ACH Account Information screen is displayed when the user clicks on the Add icon, or the “Click to add a new ACH account” message in the ACH Accounts List screen.
Follow the Data Entry guidelines below and then click on the Save icon in the function bar. The window closes and returns to the ACH Accounts List screen displaying the new ACH Account.
An Edited ACH will be Archived and a new ACH entry is created thereby retaining the history details of the original entry. Edit the appropriate fields following the Data Entry guidelines below and then click on the Save icon in the function bar. The window closes and returns to the ACH Accounts List screen.
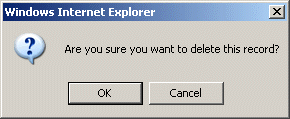
To end ACH effective immediately, Click Delete icon. This will populate the current date as 'Through' date and Archive the record. A window will open (see below). Click on the OK button to delete the ACH Account and the window closes and returns to the ACH Accounts List screen with the ACH Account being Archived. NOTE: To end ACH effective in the future, Open Spy Glass; ACH will be archived after midnight on the date specified in the 'Through' date field. The original entry will be archived and a new entry created with the updated data.

NOTE: If the Delete icon is not enabled, you do not have the security privileges necessary to delete this data
|
Field |
Purpose/Usage |
|
FRD/ABA Number |
Enter the bank's routing number. |
|
Bank Name |
Enter the name of the Customer’s bank. |
|
Account Number |
Enter the Customer’s bank account number from which the payment will be made. This is the number that appears along with the routing number at the bottom of the Customer’s check. Enter numeric characters only, no spaces or dashes. |
|
Account Name |
Enter the name of the account. |
|
ACH Signup Date |
Enter the date after which payments will be taken from the account. The date format must be "mm/dd/yyyy". |
| Authorized Effective Dates From/Through |
Enter the dates during which after which payments will be taken from the account. The date format must be "mm/dd/yyyy". |
|
Debit: Select Radio Button for preferred Options |
Amount of Invoice: Each month the debit amount will be computed from the installment amount of accounts selected from the list shown at bottom of page.
|
| Include Loans that Come Due in the Future |
If other accounts come due at a later date (may be in grace or deferred) and are not included in the list below, by selecting this option the calculation will take all accounts into consideration to determine the debit amount. |
|
Transaction Type |
Select Transaction Type for drop-down list. Select Savings or Checking account.Debit transactions will be effective with the next due date where a Pre-note transaction will process a $0.00 transaction for validation. Allow 1-month for this transaction.
|


©Ellucian Campus Receivables Collector Help Center