![]()
![]()
Employment Information
Add Edit Delete
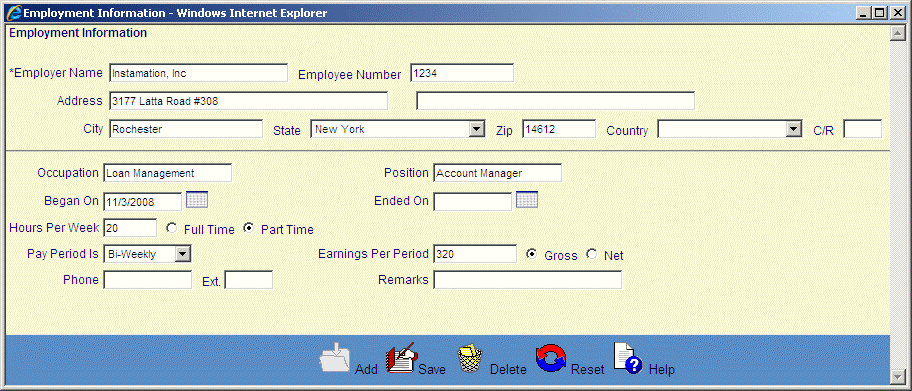
The Employment Information screen is displayed when the user clicks on the Magnifying Glass icon in the Employment List screen to edit or delete an existing Employment. The Add Employment Information screen is displayed when the user clicks on the Add icon, or the “Click to add a new Employment” message in the Employment List screen.
Follow the Data Entry guidelines below and then click on the Save icon in the function bar. The window closes and returns to the Employment List screen displaying the new Employment.
Edit the appropriate fields following the Data Entry guidelines below and then click on the Save icon in the function bar. The window closes and returns to the Employment List screen.
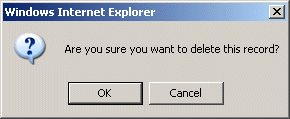
To delete an existing Employment, click on the Delete icon in the function bar. A window will open (see below). Click on the OK button to delete the Employment and the window closes and returns to the Employment List screen with the Employment removed.

NOTE: If the Delete icon is not enabled, you do not have the security privileges necessary to delete this data
*Required Fields
|
Field |
Purpose/Usage |
|
*Employer Name |
Enter employer name |
|
Employee Number |
Enter if known. |
|
Address |
Enter the employer’s address. |
|
City |
Enter the city of employer’s address |
|
State |
Enter the state of employer’s address |
|
Zip |
If entered, format must be "nnnnn" or "nnnnnnnnn" or "nnnnn-nnnn". |
|
Country |
Default value is "USA". |
|
C/R |
Carrier Route |
|
Occupation |
Enter Customer’s occupation. Example: Computer Services |
|
Position |
Enter Customer’s position. Example: Systems Analyst |
|
Began On |
Enter the date the Customer began employment. The format must be "mm/dd/yyyy". |
|
Ended On |
Enter the date the Customer ended employment. The format must be "mm/dd/yyyy". If a value is entered, it must be greater than or equal to the Began On date. |
|
Hours Per Week |
Enter how many hours per week the Customer works. Enter a numeric value between 0 and 99.99 . |
|
Full Time/Part Time |
Pick either "Full Time" or "Part Time". |
|
Pay Period Is |
If not entering a Pay Period value, use default selection of "None Selected". |
|
Earnings Per Period |
Enter the Customer’s earnings. Enter a numeric value between 0 and 99999999.99. |
|
Gross/Net |
Pick either "Gross" or "Net". |
|
Phone |
Enter the Customer’s work phone number. If entered, format must be "nnnnnnnnnn" or "nnn-nnn-nnnn". |
|
Ext. |
Enter an extension, if available. |
|
Remarks |
Enter any additional information you may have regarding this employer. |


©Ellucian Campus Receivables Collector Help Center