![]()
![]()
Home Menu
Description
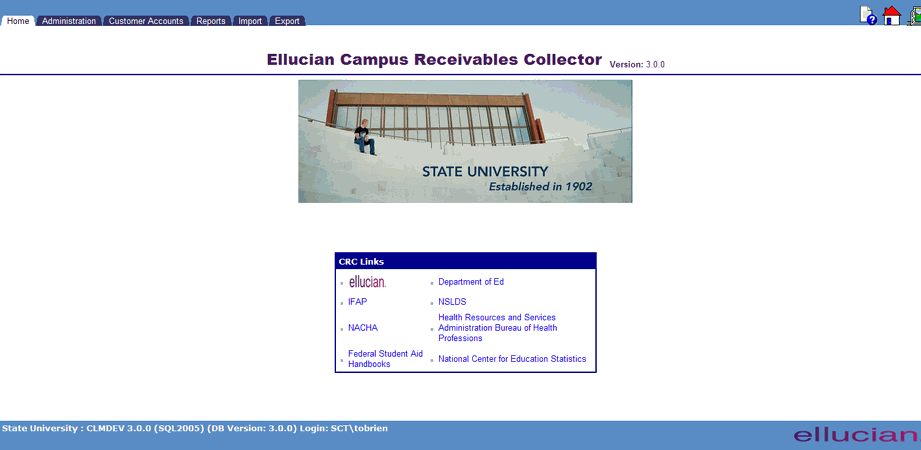
After successfully logging onto the CRC application (and if applicable, School Selection ) the user is presented with the Home Menu screen. This screen is the gateway for accessing CRC processes and functions.
Screen Format
The format of this screen is typical of most CRC
screens that are displayed to the user. A CRC screen is generally comprised of
3 areas:

3. Function Bar
Click on the links above to review additional information about each of the 3 general screen components.
Menu Items
All CRC processing functions fall into six general categories. These are represented by file tab graphics that appear at the top of the Home Menu screen in the Navigation Bar area.

Depending on your security profile, you will have access to one or more of these Menu Items. If your security profile grants you access to a particular Menu Item, the corresponding file tab color will turn green when you place the mouse pointer over it. To select the Menu Item, simply click the (green) file tab for that item.

When a (green) tab is clicked, the screen will be refreshed with a new Navigation Bar, Contents Area, and Function Bar appropriate to the selected Menu Item. Please see the Help information that is provided for each of these Menu Items for a more detailed description.
School Selection
Note: This function is available only on a CRC system that is servicing Loan/Receivables for more than one school or sub-campus. If the CRC system is servicing only one school or campus, the user will not be presented with the School Selection function.
Selection Procedure
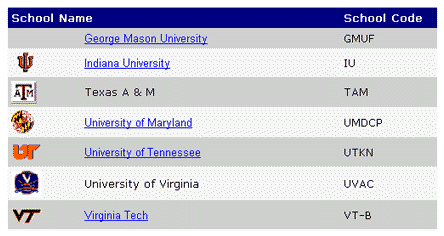
Following a successful log on, the CRC system will determine if more than one school or campus is being serviced. If multiple schools are being serviced, the CRC system will present the user with a list of school names based upon the user's security profile. The school(s) that the user has access privileges to will be presented as "selectable" links. In the following example of a School Selection list, the user does not have access privileges to data belonging to the third and sixth schools.

The user is required to select a specific school before being allowed to continue. A school is selected by clicking on the displayed School Name. Once a school is selected, an enabled version of the Home Menu is presented to the user. The name of the selected school appears in the lower left corner of the screen, in the Home Menu screen's Function Bar. All subsequent processing actions are restricted to viewing/accessing data associated with the selected school.
Changing School Selection
The user can return to the School Selection screen at any time by clicking on the School Selection icon (school house) located in the Navigation Bar in the upper right hand corner of the screen.

Upon clicking the School Selection icon, the School Selection screen is presented. The user then follows the same steps outline in the Selection Procedure section above.
©Ellucian Campus Receivables Collector Help Center