![]()
![]()
Accounting Transaction Details
Add Edit Delete
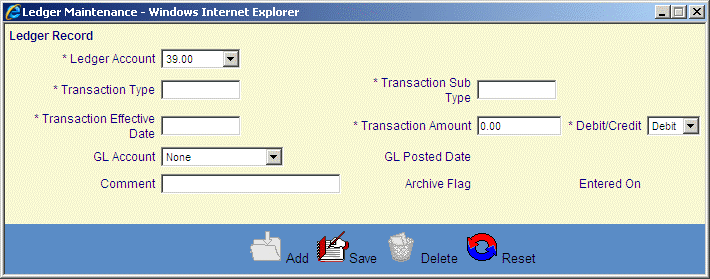
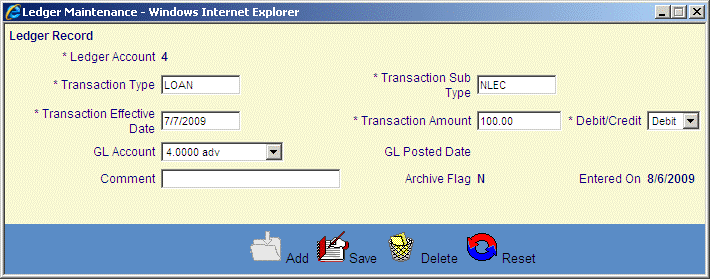
This screen is displayed when clicking on the Add icon or the magnifying glass icon in the Loan/Receivable Ledger Entries List screen. This function enables the user to Add, Edit, or Delete a Loan/Receivable Ledger. To Add or Edit a Loan/Receivable Ledger, follow the Data Entry below. To Delete, follow the Save, Delete Reset, Cancel Guidelines.
PLEASE NOTE: Extreme care should be taken when using this function. Because this function directly edits data within the CRC database, its use may have unintended or unanticipated results. It is strongly suggested that access to the Administration functions be restricted to reduce the chance of system problems. Adding entries and Editing un-posted entries will be reported to the Institution’s finance system through the CRC Accounting Feed Extract yet will not have any affect on the CRC original transaction on the Loan/Receivable and will not create an Loan/Receivable history record.
*Required Fields
|
Field Name |
Purpose/Usage |
||||||||||
|
*Ledger Account |
Select ledger number from drop-down list of ledgers from Coded Data Values. |
||||||||||
|
*Transaction Type |
Valid values are: "PYMT", "Loan", "RFND", and "CXnn" where 'nn' is the remainder of the Cancellation Type code (ex.: CXDI). |
||||||||||
|
*Transaction Sub Type |
Valid values are based on the supplied Transaction Type value, as shown in the following table:
|
||||||||||
|
*Transaction Effective Date |
Format must be “mm/dd/yyyy”. |
||||||||||
|
*Transaction Amount |
Format must be ‘nnnnnnnn.nn’ . Can be negative. |
||||||||||
|
*Debit/Credit Flag |
Value is from drop-down list. |
||||||||||
|
GL Posted Date |
Read Only |
||||||||||
|
Comment |
None |
||||||||||
|
Archive Flag |
Read-only on the update form if the record has not been deleted. |
||||||||||
|
Entered On |
None. |
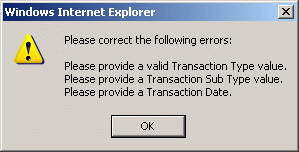
Clicking the Save icon will trigger an edit process that validates the user-entered data. If there are any errors, they will be displayed in a pop-up dialog box as shown in this example:

Click on the OK button to acknowledge the errors and return to the entry form. Modify the field(s) in error and again click the Save button. If there are not any edit errors, the updated Account Ledger information will be written to the database, and the pop-up update window will be closed.


©Ellucian Campus Receivables Collector Help Center