![]()
![]()
Amortization Schedule
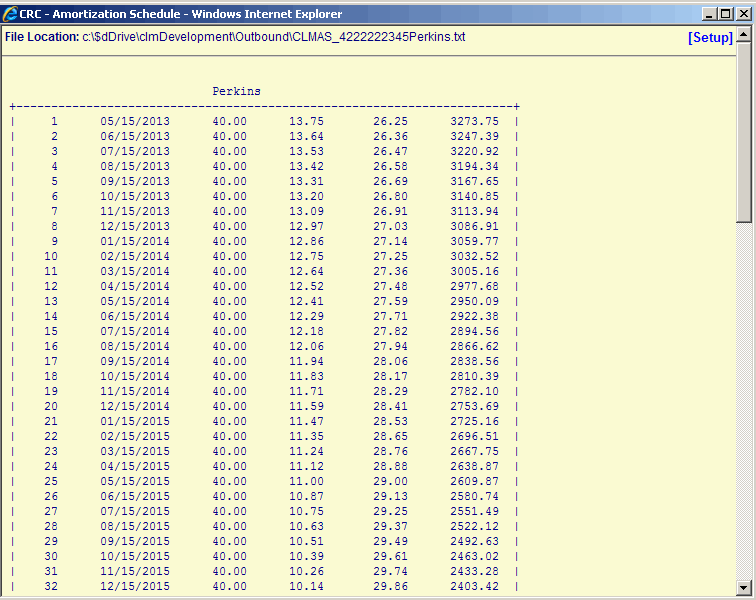
This function allows a user to setup an Amortization Schedule by following the Data Entry guidelines below and then click on the Save icon in the function bar at the bottom of the screen, which refreshes the window with the results (see sample below). The user can click on the Setup link to return to the Amortization Schedule Setup screen.
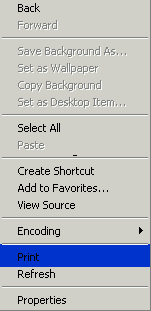
To print the Amortization Schedule, simply right click on your mouse anywhere on the Amortization Schedule screen. The following menu will then display. Clicking Print will send the amortization schedule to the PC's local printer

|
Field Name |
Purpose/Usage |
|
File Options - Export |
The checkbox options allow the user to save the amortization schedule to an Export directory. |
|
File Options – Page Break |
The page break should be set to match the paper and configurations of your printer. |
|
Regular Installment Amount |
The Installment Amount defaults to the amount associated with the Loan/Receivable. The amount can be changed in order to display an amortization schedule based on a different payment amount. |


©Ellucian Campus Receivables Collector Help Center