![]()
![]()
Comakers
Add Edit Delete
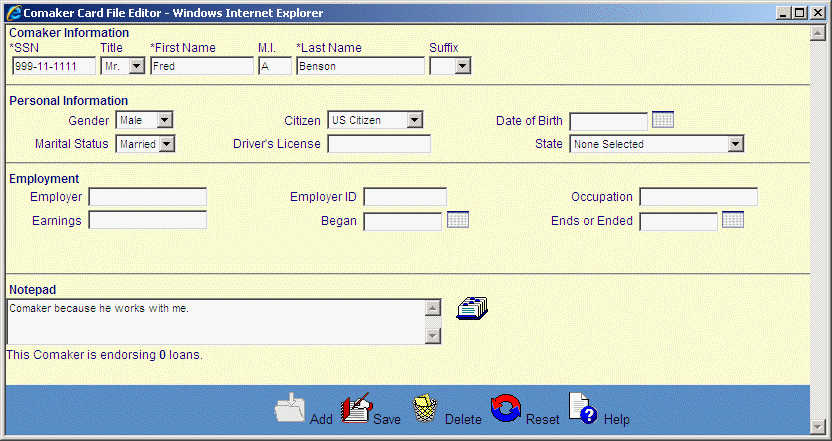
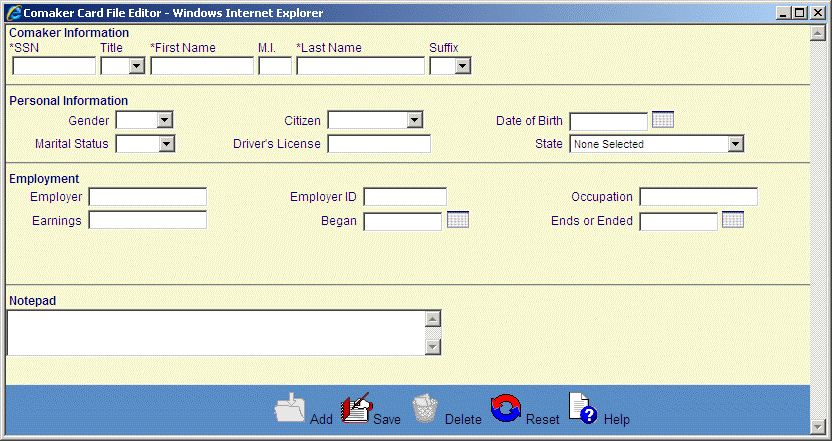
The Comaker Information screen is displayed when the user clicks on the Magnifying Glass icon in the Comakers List screen to edit or delete an existing Comaker. The Add Comaker Information screen is displayed when the user clicks on the Add icon, or the “Click to add a new comaker” message in the Comakers List screen. This function allows a user (depending on the user’s security policy) to
There are also guidelines below on how to Assign a Comaker to a Loan/Receivable and Save Delete Reset Cancel Guidelines.
Follow the Data Entry guidelines below and then click on the Save icon in the function bar. The window is refreshed indicated that the comaker was successfully saved (see below) and provides a user to add an address for the Comaker. When the user clicks on the Address icon a new window opens (see Add Edit Delete Comaker Addresses for more details).

Edit the appropriate fields following the Data Entry guidelines below and then click on the Save icon in the function bar. The window closes and returns to the Comakers List screen. To edit the Comaker addresses, click on the Rolodex address icon and a new window opens (see Add Edit Delete Comaker Addresses for more details).
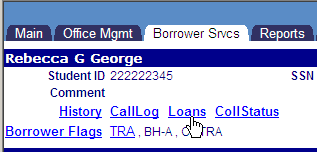
Click on the Loan/Receivables link in the Comakers List screen and the screen will be refreshed listing the Customer’s Loan/Receivables. Select a Loan/Receivable and then click on the Comaker in the Select a Loan/Receivable Function drop-down box (see Assign a Comaker for more details).
To delete a Comaker, the Comaker must not be endorsing a Loan/Receivable (which is displayed at the bottom of the screen). Click on the Delete icon in the function bar. A window will open (see below). Click on the OK button to delete the Comaker and the window closes and returns to the Comakers List screen with the Comaker removed.
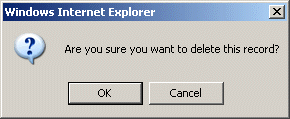
NOTE: If the Delete icon is not enabled, you do not have the security privileges necessary to delete this data
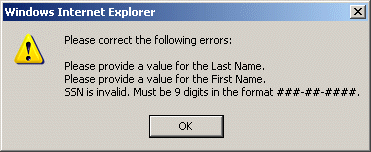
If the information is not entered correctly, the user may receive an error message (see below). Click on the OK button and update the information and click on the Save icon.
*Required Fields
|
Field |
Purpose/Usage |
|
*SSN |
The comaker’s social security number |
|
Title |
The salutation to be used on correspondence that is sent to the comaker |
|
*First Name |
The comaker’s first name |
|
M.I. |
The comaker’s middle initial |
|
*Last Name |
The comaker’s last name |
|
Suffix |
The suffix at the end of the comakers name |
|
Gender |
The sex of the comaker |
|
Citizen |
The citizenship of the comaker Either US or Non US |
|
Date of Birth |
The birth date of the comaker |
|
Marital Status |
The comaker’s marital status |
|
Drivers License |
The comaker’s drivers license number |
|
State |
The state where the comaker’s resides |
|
Employer |
The name of the firm with which the comaker is employed |
|
Employer ID |
The ID given to the comaker by the firm which he is employed by |
|
Occupation |
The comaker’s job title |
|
Earnings |
The comakers hourly, weekly, monthly or annual salary |
|
Began |
The start date of employment |
©Ellucian Campus Receivables Collector Help Center